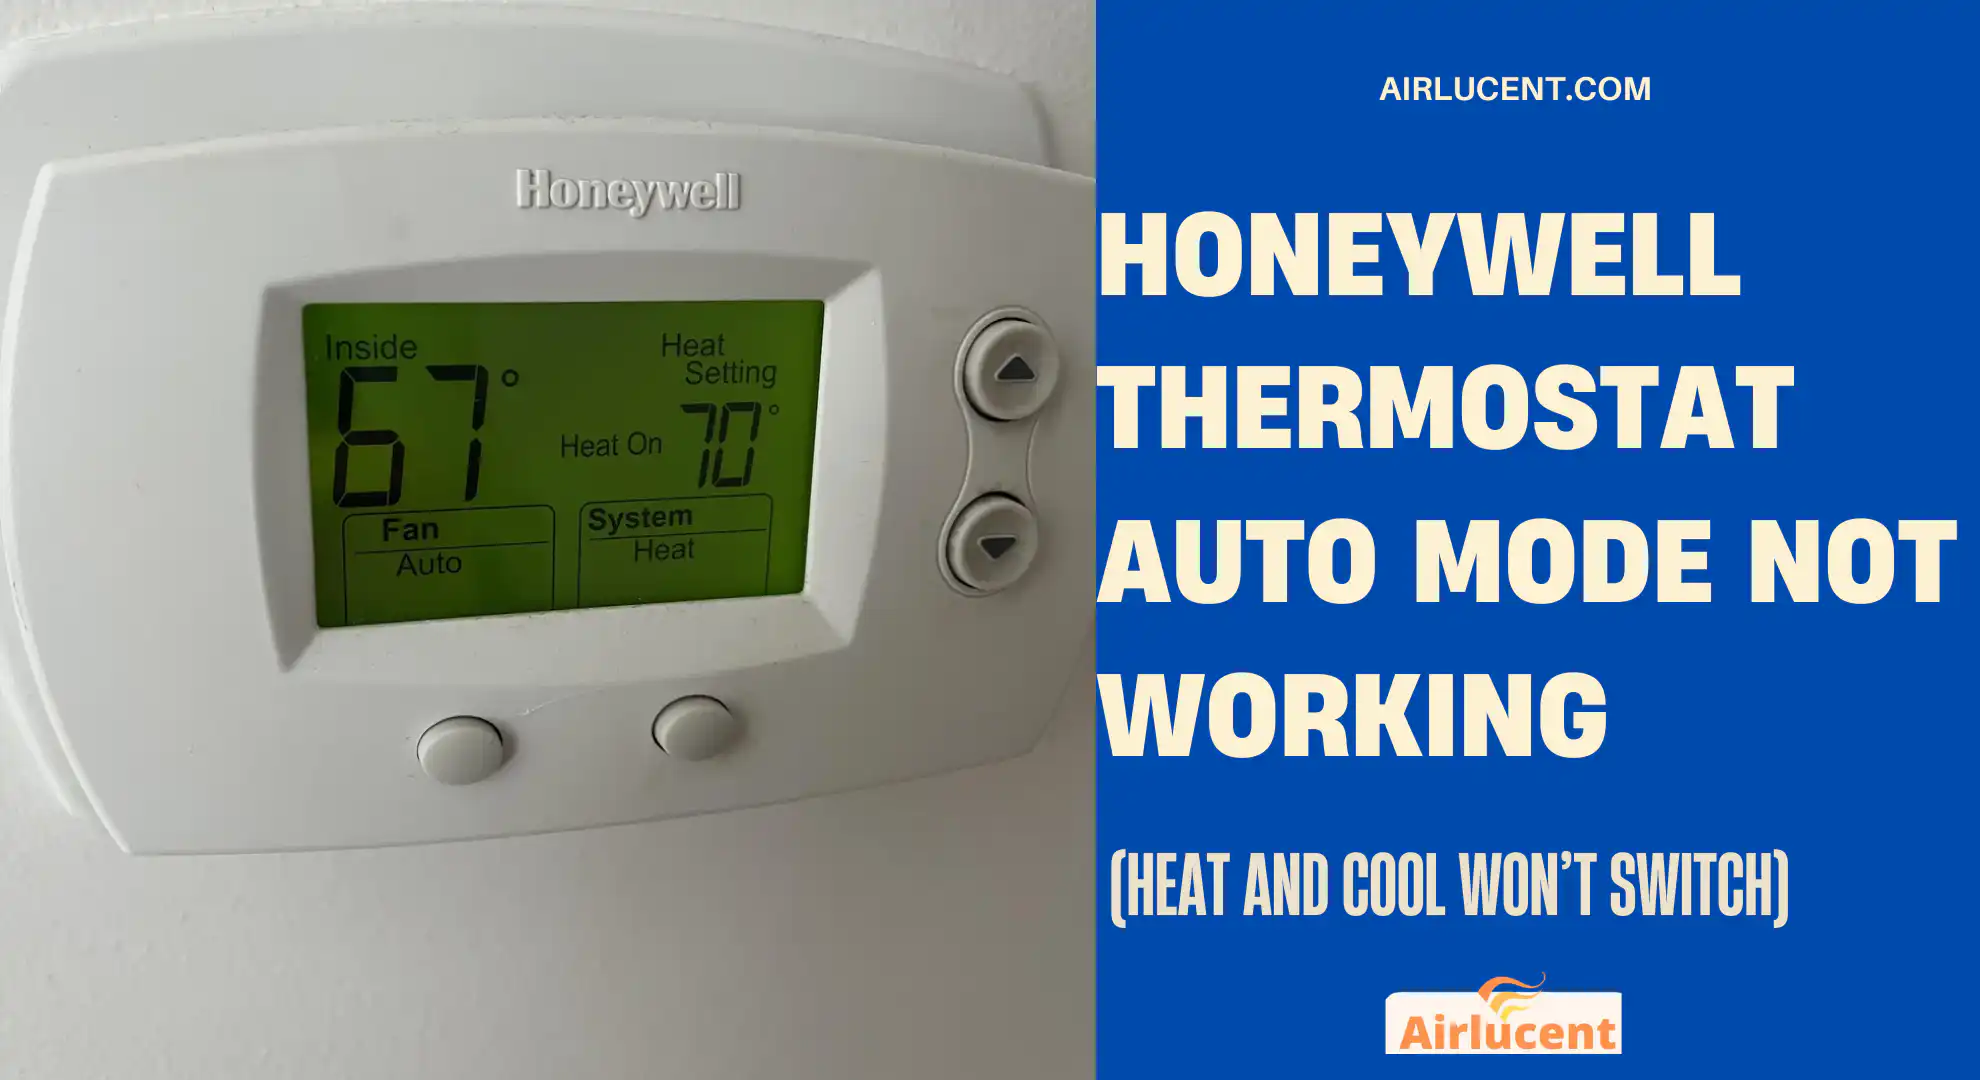
Auto mode is one of those features homeowners love because it sounds simple: set one temperature for cooling, one for heating, and let the thermostat switch between them as your home warms up or cools down.
But when your Honeywell thermostat Auto mode isn’t working, it usually turns into one of these headaches:
- It stays stuck on Heat or stuck on Cool
- It never switches even though the house is clearly too hot or too cold
- The fan runs but you don’t get heating or cooling
- It switches late or not at all
- You see “Wait” for a long time and think it’s broken
I’ve been an HVAC technician for over 10 years, and I can tell you this: most Auto mode failures come down to a few predictable causes. The good news is you can troubleshoot a lot of them yourself safely, as long as you’re careful.
Let’s walk through it step by step, in the same order I’d diagnose it in a home.
- Quick Answer (What fixes Auto mode most often)
- What “Auto Mode” actually means on a Honeywell thermostat
- The most common reason Auto won’t switch: your setpoints are too close
- Don’t skip this: Honeywell has a built-in safety delay (it looks like Auto is broken)
- Step-by-step troubleshooting (the exact order I use)
- Step 1: Confirm you’re actually in System Auto (not just Fan Auto)
- Step 2: Make sure Auto Changeover is enabled in Installer Setup (ISU)
- Step 3: Check if a schedule, program, or hold is overriding Auto
- Step 4: Check if the thermostat is locked (yes, it can block changes that affect Auto)
- Step 5: Power problems (low batteries or weak C-wire power)
- Step 6: Wiring issues that stop Auto from calling the right equipment
- Step 7: Sensor or placement problems (thermostat “thinks” the temperature is different)
- Step 8: Reset or reboot the thermostat (clean restart)
- Symptom-based troubleshooting table (find your issue fast)
- When Auto mode isn’t the real problem (HVAC equipment issues)
- My “best settings” for reliable Honeywell Auto mode (what I set in real homes)
- FAQ: Honeywell Auto Mode Not Working
Quick Answer (What fixes Auto mode most often)
Before we go deep, here are the top fixes I see work the most:
- Separate your Heat and Cool setpoints by at least 3°F to 5°F
- Wait 5 to 10 minutes (Honeywell often has a built-in compressor protection delay)
- Enable Auto Changeover in Installer Setup (ISU) because on many models it’s off by default
- Disable schedules or holds that are overriding Auto
- Check power issues (low batteries, weak C-wire power)
- Check wiring, especially if the fan runs weird or it never calls for cooling/heating
Now let’s make sure you fix the right thing, not just guess.
What “Auto Mode” actually means on a Honeywell thermostat

Auto mode has two separate ideas that get confused:
1) System Auto (Heat/Cool Auto Changeover)
This is where the thermostat decides whether to run heat or cool depending on the room temperature.
2) Fan Auto
This only controls whether the blower fan runs continuously or only when heating/cooling is running.
A lot of homeowners tell me “Auto isn’t working,” but they’re talking about the fan. So keep that distinction in mind as you troubleshoot.
The most common reason Auto won’t switch: your setpoints are too close
Honeywell thermostats need a “buffer” (also called a deadband or differential) between the heating setpoint and cooling setpoint. If the heat and cool targets are too close, the thermostat may refuse to switch to prevent rapid cycling.
Recommended setpoint separation (real-world guidance)
| Standard furnace + AC | 3°F | 4°F to 6°F |
| Heat pump systems | 3°F to 5°F | 5°F to 8°F |
| Homes with humidity issues | 3°F | 5°F to 7°F |
Example that causes problems
- Heat set to 70°F
- Cool set to 71°F
That 1 degree gap often leads to “Auto not working” complaints.
Example that works well
- Heat set to 68°F
- Cool set to 74°F
What I want you to do: Set your heat and cool setpoints at least 5°F apart, then test Auto mode again.
Don’t skip this: Honeywell has a built-in safety delay (it looks like Auto is broken)
That’s not a glitch. That’s protection.
Typical delays you may see
| “Wait” on screen | Compressor protection delay | 5 minutes (sometimes up to 10) |
| Cool should start but doesn’t | Anti short-cycle protection | 5 to 10 minutes |
| Heat pump seems slow to switch | Normal staging and protection | varies |
Step-by-step troubleshooting (the exact order I use)

Step 1: Confirm you’re actually in System Auto (not just Fan Auto)
On most Honeywell models you’ll see something like:
- System: Heat, Cool, Auto, Off
- Fan: Auto, On, Circulate (varies by model)
Make sure System = Auto.
Fan can be Auto or On, but that’s separate.
Step 2: Make sure Auto Changeover is enabled in Installer Setup (ISU)
This is the big one many people miss.
On many Honeywell thermostats, “Auto” is visible on the screen, but Auto Changeover can be disabled in the installer settings, which prevents proper switching.
What you’re looking for
A setting labeled something like:
- Auto Changeover
- Changeover
- System Changeover
- Heat Cool Auto
It’s often something like:
- 0 = Disabled
- 1 = Enabled
General way to access ISU on many Honeywell models
Because Honeywell has a lot of models, the exact button combo differs, but common methods include:
- Press Menu, then press and hold a specific button or two buttons together
- Press and hold blank areas on the screen (some touchscreen models)
- Press Menu, then navigate to Installer Setup or Advanced Settings
Step 3: Check if a schedule, program, or hold is overriding Auto
I’ve walked into homes where the thermostat is “in Auto,” but the schedule forces it into behavior that looks like Auto is broken.
Here’s what to check:
- Turn off the schedule temporarily
- Use a Permanent Hold (if available)
- Make sure you don’t have separate heating and cooling programs fighting each other
Common clue
If the thermostat keeps snapping back to an old temperature after you change it, you’re likely battling a schedule.
Step 4: Check if the thermostat is locked (yes, it can block changes that affect Auto)
Some Honeywell ProSeries models support:
- Keypad lock
- Temperature range lock
- Full lockout
- Partial lock
If a range lock is active, you might not be able to set the heat/cool separation wide enough for Auto to function correctly.
Lock types at a glance
| Keypad lock | Blocks changes without code | You can’t adjust setpoints properly |
| Temperature range lock | Limits min/max temps | You can’t create the needed heat/cool gap |
| Full lockout | Blocks most functions | Auto can be effectively unusable |
| Partial lock | Limits certain menus | You may not access settings needed |
If you see a padlock icon, unlock it first before doing deeper troubleshooting.
Step 5: Power problems (low batteries or weak C-wire power)
Power issues cause weird behavior: failed switching, blank screens, relays not engaging, WiFi dropping, or sensors reading wrong.
Check these:
- Replace batteries (if your model uses them)
- Make sure the thermostat is firmly seated on the wall plate
- If it’s a smart thermostat: verify you have a solid C-wire connection or proper adapter
What I see in the field
Low power doesn’t always kill the screen immediately. It often shows up as “random logic problems,” including Auto mode not behaving.
Step 6: Wiring issues that stop Auto from calling the right equipment
If you recently installed the thermostat, swapped models, or did DIY wiring, I’d put wiring high on the suspect list.
Common wiring-related Auto failures
- Cooling never starts because Y isn’t connected properly
- Heating never starts because W (or O/B on heat pumps) isn’t correct
- Fan runs constantly due to a G wire issue
- Heat pump changeover is wrong (O vs B configuration)
If the fan is running when it shouldn’t, or you get only heat or only cool no matter what, wiring is a prime suspect.
Safety note: Turn off power at the breaker before touching thermostat wires.
Step 7: Sensor or placement problems (thermostat “thinks” the temperature is different)
If the thermostat temperature reading is wrong, Auto won’t behave correctly because it’s making decisions using bad data.
Check for:
- Thermostat in direct sunlight
- Thermostat near a supply vent blowing on it
- Thermostat on an exterior wall that gets hot/cold
- Dust inside older thermostats (less common on sealed smart units)
Quick test
Compare the thermostat reading to a decent standalone thermometer placed nearby for 15 minutes. If it’s off by 2 to 4 degrees, that’s enough to cause Auto frustration.
Step 8: Reset or reboot the thermostat (clean restart)
When software glitches happen, a clean restart fixes a surprising number of Auto mode issues.
Try this order:
- Set System to Off
- Turn HVAC power off at the breaker (or switch)
- Remove the thermostat from the wall plate
- Wait 60 seconds
- Re-seat the thermostat
- Restore power and test Auto again
Symptom-based troubleshooting table (find your issue fast)

| Auto is selected but it never switches | Deadband too small, Auto changeover disabled, schedule override | Separate setpoints 5°F, enable Auto changeover in ISU |
| It says “Wait” and nothing happens | Compressor protection delay | Wait 10 minutes |
| Cooling works, heat never comes on | Wiring, system type mismatch, ISU settings | Confirm W wire, system setup in ISU |
| Heat works, cooling never comes on | Y wire issue, outdoor unit power issue, ISU config | Confirm Y wire, check AC breaker and disconnect |
| Fan runs constantly even on Auto | Fan setting set to On, G wire issue | Set fan to Auto, check G wiring |
| Auto works sometimes, not others | Schedule conflicts, sensor reading wrong, low power | Disable schedule, compare temperature reading, check power |
When Auto mode isn’t the real problem (HVAC equipment issues)
Sometimes the thermostat is doing its job, but your HVAC system can’t deliver.
Call a pro (or at least stop DIY) if you notice:
- Outdoor AC unit not running at all (could be capacitor, contactor, disconnect, breaker)
- Heat pump blowing cool air in heat mode (could be defrost, reversing valve, refrigerant)
- System short-cycling rapidly (can damage compressors)
- Burning smell, buzzing, or repeated breaker trips
As a technician, I’ll always tell homeowners: thermostat troubleshooting is safe. But once you move into electrical diagnostics inside the air handler, condenser, or furnace, you need training and a meter.
My “best settings” for reliable Honeywell Auto mode (what I set in real homes)
Here’s a simple setup that avoids most Auto complaints:
| Heat setpoint | 68°F to 70°F | Comfortable baseline |
| Cool setpoint | 74°F to 76°F | Comfort and efficiency |
| Heat/Cool gap | 5°F to 8°F | Prevents mode fighting |
| Fan | Auto (not On) | Reduces unnecessary fan runtime |
| Schedule | Use it or disable it, but don’t half-use it | Prevents overrides and confusion |
| Auto changeover | Enabled in ISU (if you want Auto) | Required on some models |
FAQ: Honeywell Auto Mode Not Working
Why won’t my Honeywell thermostat switch from heat to cool in Auto?
The top causes are:
Heat and cool setpoints are too close (increase to a 5°F gap)
Auto Changeover is disabled in installer settings.
You’re within a 5 to 10 minute compressor protection delay.
How long should I wait for Auto mode to switch?
I tell homeowners 10 minutes to be safe, especially after a recent change. Many systems use anti short-cycle delays.
My Honeywell thermostat Auto fan doesn’t turn off. Is that normal?
Not usually. Check:
Fan setting (make sure it’s Auto, not On)
Wiring at the G terminal
Any circulation setting (some models run the fan a few minutes each hour)
Will a factory reset fix Auto mode?
It can, especially if a software glitch or mis-setting is the root cause. Just remember: a factory reset may wipe system configuration. If it’s a heat pump, incorrect setup after reset can create new issues.