I’m Nathan Rogers. I’ve been an HVAC technician for more than 10 years, and a big part of my job has always been the same core problem you deal with in your homes and cars.
The cabin air filter is like the lung filter for the air you breathe. When it’s fresh and clean, your HVAC system can move air without trouble, and your cabin feels fresh. When it’s clogged, everything ends up working harder, airflow gets worse, and dust hang around more.
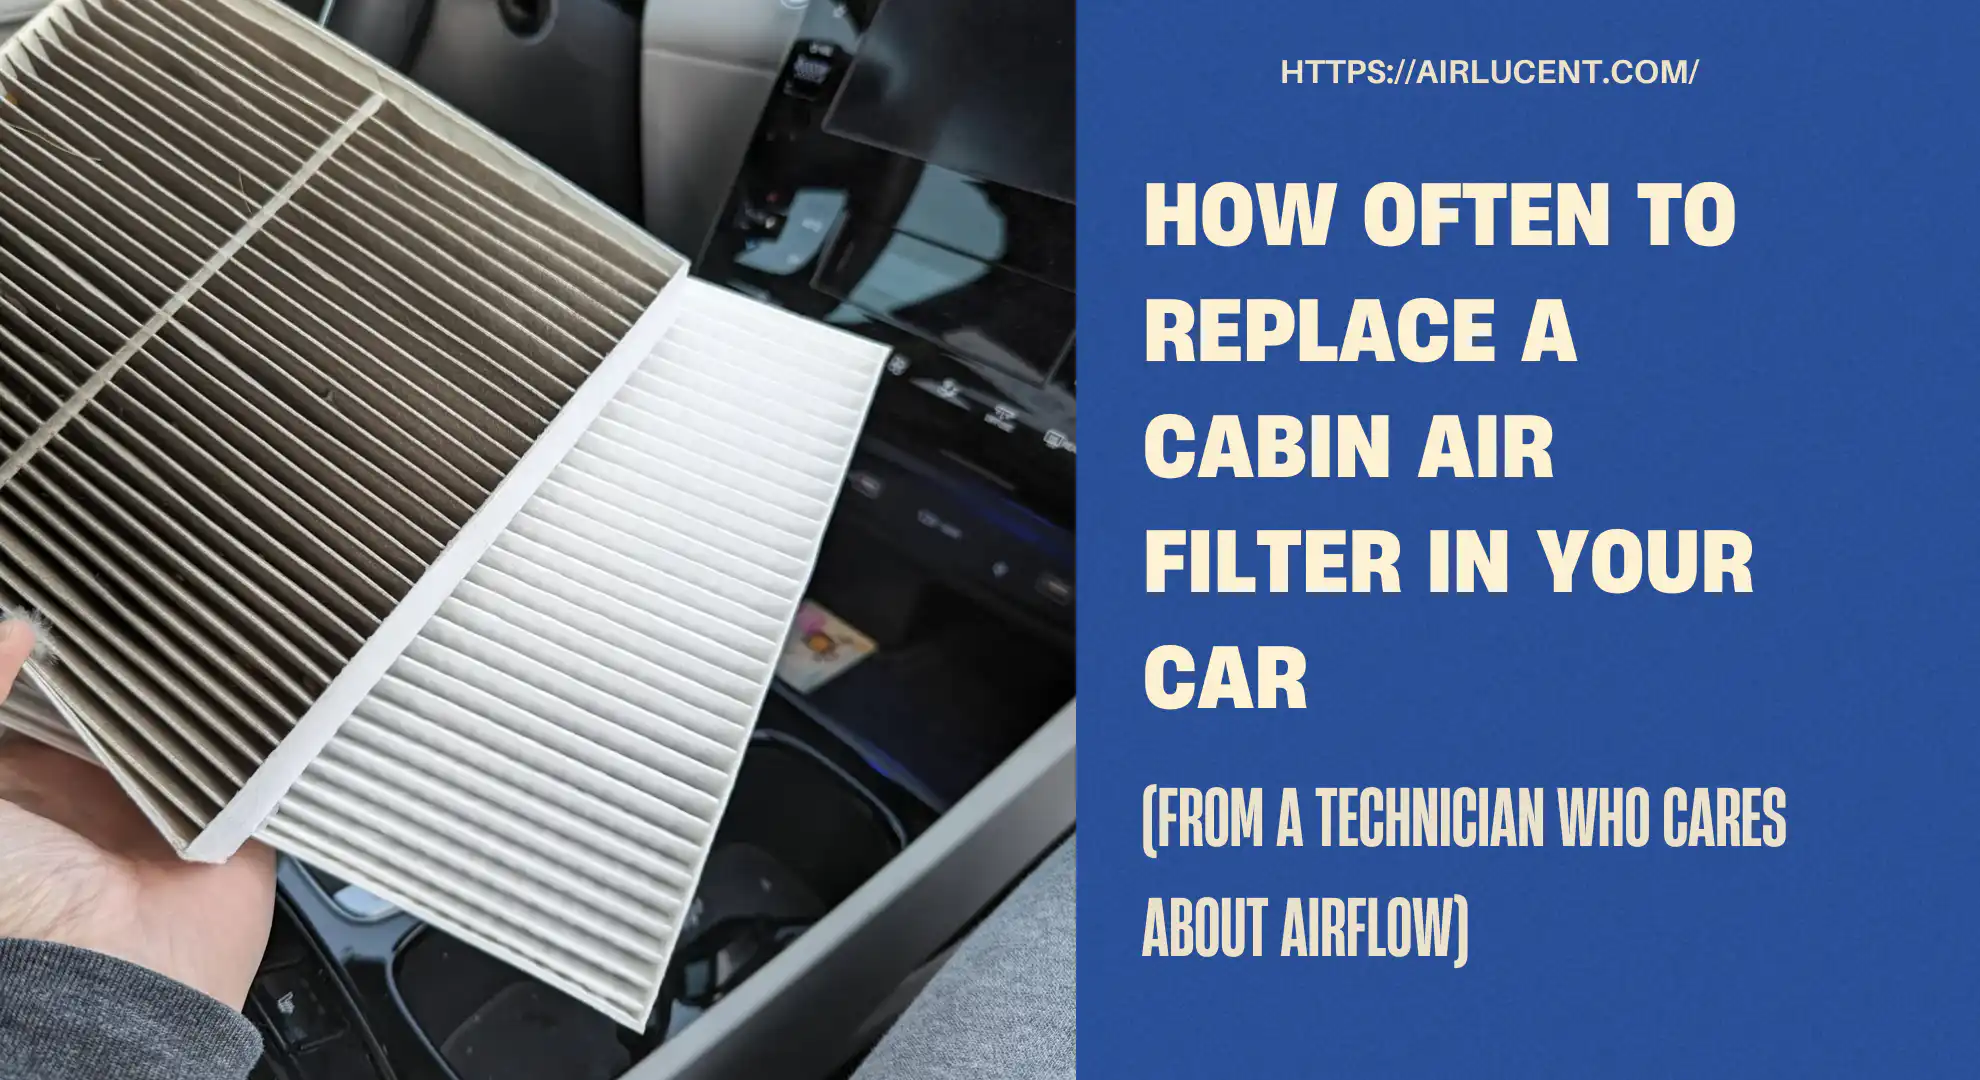
What a Cabin Air Filter Actually Does
A cabin air filter cleans the air that comes through your vehicle’s ventilation, heating, and air conditioning system, before it reaches the cabin.
It helps trap:
- Dust and road debris
- Pollen and allergens
- Soot and fine particles (especially in traffic)
- Mold spores (especially in humid climates)
- Odors, if you use a carbon or charcoal filter
In the field (both home HVAC and vehicle HVAC), I’ve seen the same pattern: restricted filters reduce airflow, make the blower work harder, and can contribute to that stale, musty smell.
A useful stat to keep in mind
Industry estimates commonly say that around three-quarters of vehicles on the road have a cabin air filter. The problem is many drivers don’t realize it exists until airflow gets weak or the car starts smelling “off.”
So How Often Should You Change It? A Practical Schedule
Here’s the schedule I recommend to most people because it matches real-world driving, not just ideal conditions.
Recommended cabin air filter replacement intervals
| Normal mixed driving | 15,000 miles or 12 months | Average dust and pollen load |
| City commuting, heavy traffic | 10,000 to 15,000 miles | Exhaust soot + constant air cycling |
| Dusty roads, construction zones, rural/gravel roads | 5,000 to 10,000 miles | High dust loading overwhelms filter media |
| Allergy season-heavy regions or high pollen areas | 10,000 miles (or seasonally) | Pollen loads plug filters quickly |
| Hot, humid climates | 10,000 to 15,000 miles | Moisture + organic debris can cause odors |
| You drive with pets often | 10,000 miles | Hair and dander add to clogging |
If you want the simplest “do it and forget it” approach, change it every spring (before A/C season) or every fall (before heat season). Either works. Spring is especially smart if you deal with allergies.
3 Factors That Decide How Fast Your Cabin Filter Gets Dirty

1. Driving conditions
This is the biggest factor. Filters load up faster when you drive in:
- Construction areas
- Desert-like or dry windy zones
- Dirt roads
- Stop-and-go traffic corridors with lots of exhaust
In HVAC work, we call this “particulate load.” The heavier the load, the faster the filter becomes a restriction.
2. How you use the vehicle
Two people can own the same model car and have totally different filter life.
Your cabin filter tends to clog faster if:
- You carry kids and passengers frequently (more dirt and lint gets stirred up)
- You run the fan often
- You use recirculation less (more outside air pulled in)
- You transport pets (dander and hair adds up fast)
3. Manufacturer maintenance recommendations
Some automakers specify shorter intervals than the generic advice online. I’ve seen schedules as low as 10,000 miles for certain models and driving conditions.
My advice: follow the manual as your baseline, then adjust based on symptoms and environment.
Signs Your Cabin Air Filter Needs Replacement
You don’t need to guess. Your car usually tells you.
Common symptoms (what you’ll notice)
- Weak airflow from vents, even when the fan is on high
- More dust settling on the dashboard and interior surfaces
- Musty or dirty-sock smell, especially when you first turn on A/C or heat
- Worsening allergy symptoms while driving
- Windows fog more easily (sometimes tied to poor airflow)
Symptom-to-cause cheat sheet
| Airflow is noticeably weaker | Filter restriction | Replace cabin filter first |
| Musty smell on startup | Dirty filter, moisture, or mild mold in HVAC box | Replace filter; consider evaporator cleaner if persistent |
| Dust is building up inside fast | Filter overloaded or low-quality filter | Replace; consider upgraded filtration |
| Fan is loud but air is weak | Filter restriction or blower issue | Replace filter; if not fixed, inspect blower |
If you take one thing from my HVAC background, take this: airflow problems are often filter problems first. Filters are cheap compared to diagnostics and blower motor work.
How to Check Your Cabin Air Filter (Takes 2 Minutes)

Even if you’re not replacing it today, checking it is simple.
- Find the filter location in your owner’s manual
Common spots:- Behind the glove box
- Under the dashboard on the passenger side
- Under the hood near the cowl (less common)
- Slide the filter out and look for:
- Dark gray or black coloring
- Leaves, bugs, and debris packed into the pleats
- A damp or musty smell
- Warped or collapsing pleats (cheap filters do this)
My personal rule
If the filter looks like it has a “felt blanket” of dirt, it’s done.
How to Replace a Cabin Air Filter (DIY Step-by-Step)

Most cabin filters are one of the easiest maintenance items on a car. Many take 5 to 15 minutes.
What you’ll need
- The correct replacement filter (match year, make, model, trim)
- Gloves (recommended)
- A small vacuum or microfiber towel (optional)
Steps
- Turn the car off.
- Access the filter compartment (often behind the glove box).
Some glove boxes have side tabs you squeeze to drop it down. - Remove the filter cover (usually clips).
- Slide the old filter out carefully.
Keep it level so debris doesn’t dump into the blower housing. - Clean the compartment (quick vacuum helps).
- Install the new filter in the correct direction.
Look for the airflow arrow on the filter frame. - Reinstall the cover and glove box.
Cabin Air Filter Cost: What You Should Expect to Pay
Prices vary by vehicle and filter type, but here’s a realistic range.
Typical costs
| DIY, basic particulate filter | $10 to $25 | Most budget-friendly |
| DIY, activated carbon filter | $15 to $40 | Better odor and fumes control |
| DIY, premium multi-layer filter | $25 to $60 | Better filtration, often longer life |
| Shop/dealership installed | $50 to $150 | Labor + markup; varies a lot by region |
In many cases, a shop charges more because access takes time on certain models. But on vehicles where it’s behind the glove box, you’re often paying mostly for convenience.
Which Type of Cabin Air Filter Should You Buy?
Here’s a simple comparison that helps you pick based on your needs.
| Basic particulate | Normal driving, budget | Affordable, widely available | Less odor/fume control |
| Activated carbon or charcoal | City driving, odors, smoke | Reduces smells and some fumes | Slightly higher cost |
| High-efficiency multi-layer | Allergies, wildfire season, heavy dust | Better fine-particle capture | Can restrict airflow sooner if not changed regularly |
FAQ: Cabin Air Filter Replacement
What if I replace it and airflow is still weak?
Then it’s time to look at:
- Blower motor performance
- Debris in the blower housing
- HVAC door actuator issues
- In rare cases, evaporator blockage
But always start with the filter because it’s the simplest and cheapest.
My Bottom-Line Recommendation (What I’d Tell You in My Own Driveway)
If you want a clean, reliable schedule that fits most cars:
- Replace your cabin air filter every 1 year or 12000 miles.
- If you drive in dust, heavy traffic, construction zones, or you have allergies, do it closer to 10,000 miles or even 5,000 to 10,000 in extreme dust.
- If you notice weak airflow or bad smells, replace it immediately.


