Hi, I’m Nathan. I’ve worked as an HVAC technician for over 10 years, and I can tell you this situation is incredibly common: you change the batteries (doing the right thing), and suddenly the thermostat is blank or your heating and cooling won’t start.
The good news is that most “Honeywell thermostat not working after battery change” calls I see end up being something simple like battery polarity, a loose faceplate, corrosion on the contacts, or the HVAC system losing power at the furnace. I’m going to walk you through the exact troubleshooting order I use so you don’t waste time.
- Quick reality check (important)
- Fast diagnosis: match your symptom first
- Most common causes and fixes (at a glance)
- Step-by-step troubleshooting (the order I recommend)
- Step 1: Recheck battery polarity (do this even if you “know” it’s right)
- Battery tip (from the field)
- Step 2: Make sure you’re using the right battery type
- Why rechargeables can cause trouble
- Step 3: Clean the battery contacts (especially if you see white powder or green/blue residue)
- What to do
- When cleaning won’t fix it
- Step 4: Reseat the thermostat faceplate (this is huge on Honeywell)
- What I do
- Step 5: Do a battery reset (forces a reboot)
- If the display works but your HVAC won’t start
- Step 6: Check the thermostat settings (it sounds basic, but it matters)
- Confirm these settings
- Step 7: Check breakers and the furnace switch
- Breaker panel
- Furnace power switch
- Step 8: Check the furnace door safety switch (very common)
- Step 9: Inspect thermostat wiring (easy, but be careful)
- What to look for
- Common terminal meanings (quick reference)
- If the thermostat is blank and you want a “real” power test
- Blown fuse on the furnace control board (sneaky but common)
- When the thermostat itself is actually bad
- DIY cost vs. calling a technician (realistic expectations)
- Prevent this from happening again (what I recommend to homeowners)
- FAQ: Honeywell thermostat not working after battery change
- My bottom-line advice
Quick reality check (important)
A lot of Honeywell thermostats use batteries mainly to retain memory (time, schedules) while the thermostat actually runs on 24V power from your HVAC system. So it’s possible to change batteries and still have a dead thermostat if the furnace/air handler has no power.
That’s why we troubleshoot both:
- The thermostat battery compartment and display
- The HVAC power (breaker, door switch, fuse, transformer)
Fast diagnosis: match your symptom first
If your thermostat is doing this…
- Screen is completely blank after new batteries.
- Screen turns on, but heat/AC won’t start.
- Low battery warning won’t go away.
- Heat works but AC won’t turn on (or the opposite)
…you’re in the right place.
Most common causes and fixes (at a glance)
| Batteries inserted wrong (polarity) | Blank screen or flicker | Reinsert matching + and – markings |
| Dirty/corroded battery contacts | Low battery stays on, intermittent screen | Clean terminals and springs carefully |
| Faceplate not snapped on fully | Screen may work, system won’t respond | Reseat thermostat so pins contact base |
| Thermostat settings reset | Runs at odd times, wrong mode | Reprogram time/schedule, set Heat/Cool |
| A wire got loosened while handling | Screen works, HVAC won’t start | Re-seat R, C, Y, W, G wires |
| Furnace door switch open | Thermostat may be weird or system won’t run | Close/blow door panel fully |
| Tripped breaker or blown low-voltage fuse | Thermostat on battery but HVAC dead | Reset breaker, replace 3A/5A fuse |
| No 24V from transformer | Random failures, nothing responds | Test R to C voltage (needs a meter) |
| Faulty thermostat (rare, but real) | Nothing helps | Replace thermostat or contact Honeywell |
Step-by-step troubleshooting (the order I recommend)

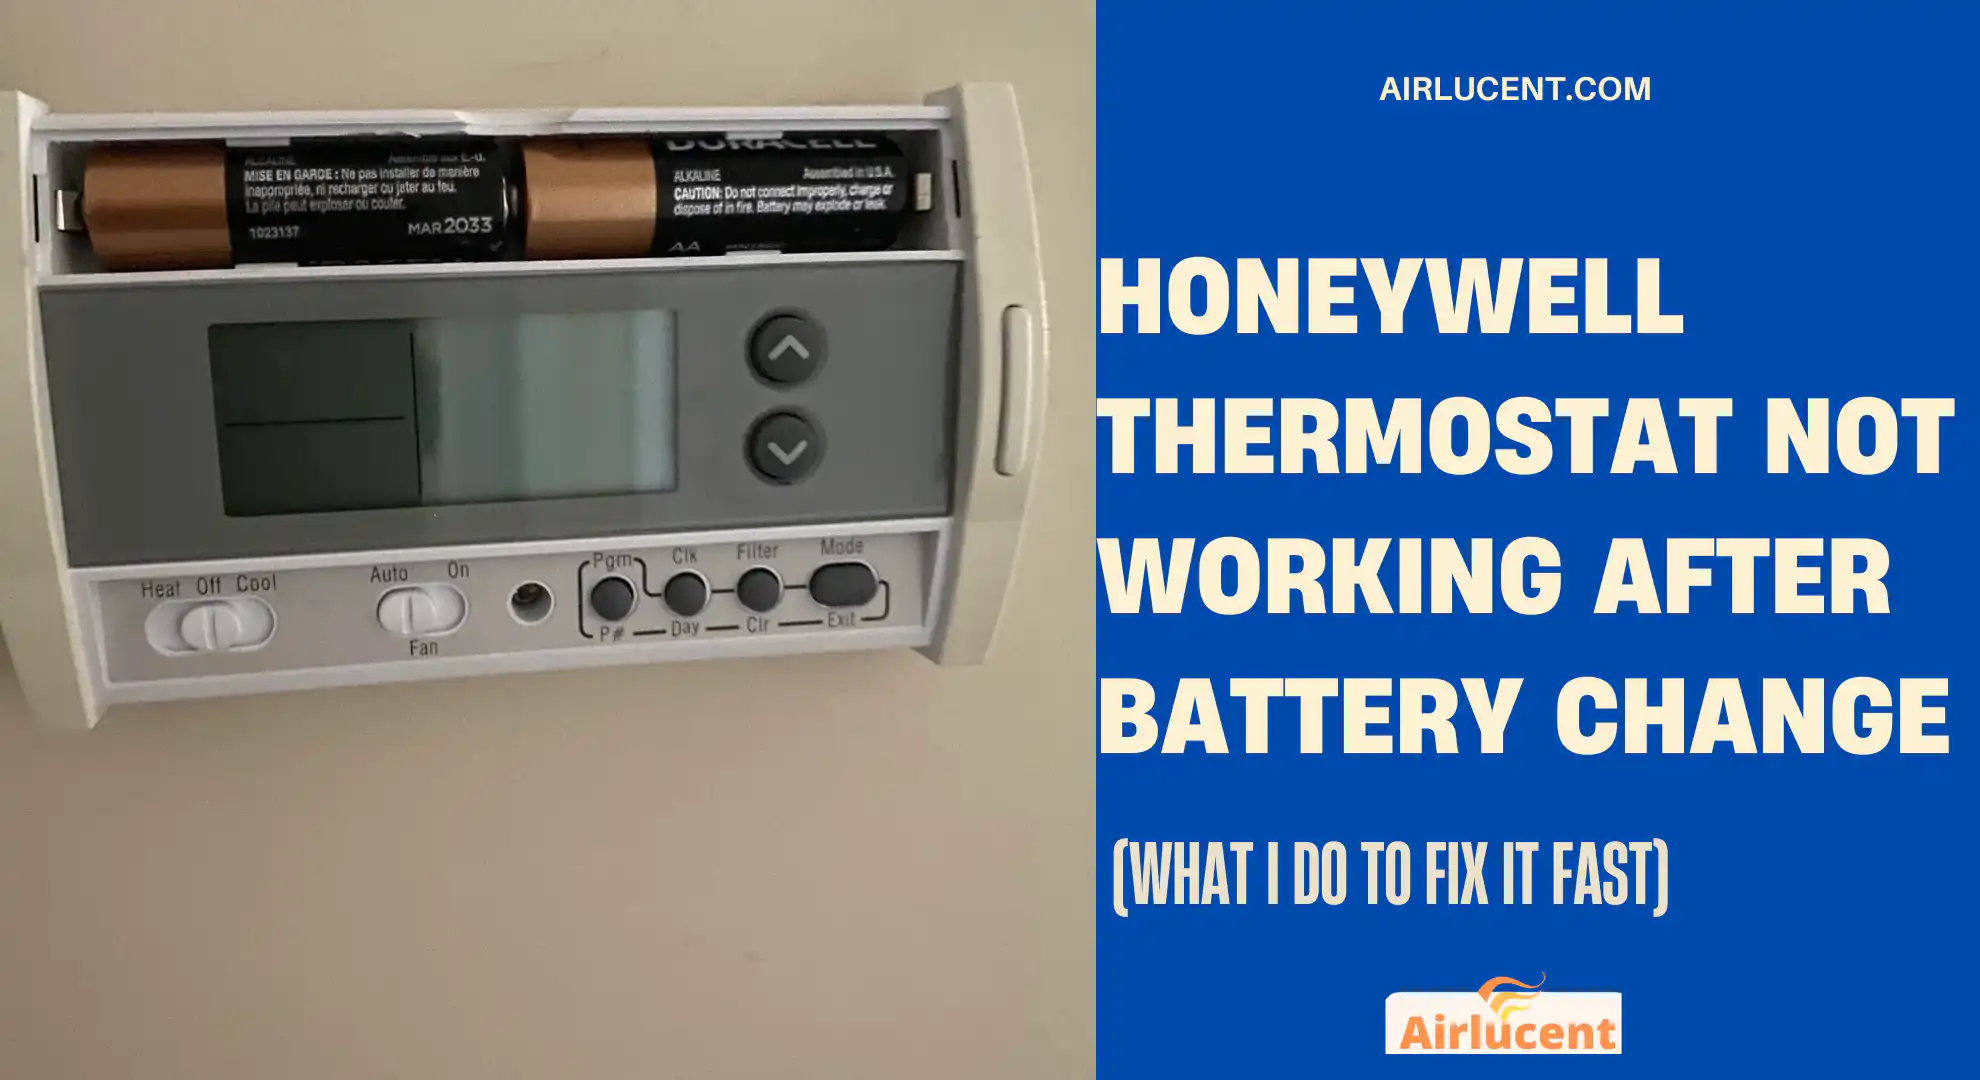
Step 1: Recheck battery polarity (do this even if you “know” it’s right)
This is the number one mistake I see, especially in a dim hallway.
- Pull the batteries back out.
- Look closely at the + and – markings inside the battery tray.
- Reinsert each battery slowly, matching the markings.
Battery tip (from the field)
Some Honeywell trays are tight. Make sure the batteries are fully seated and the spring side is actually compressing. A battery can look “in” while not making contact.
Step 2: Make sure you’re using the right battery type
Honeywell generally expects alkaline AA or AAA (depends on model). Rechargeables are a common hidden issue.
Why rechargeables can cause trouble
Most rechargeable NiMH batteries are 1.2V per cell instead of 1.5V for alkaline. Some thermostats interpret that lower voltage as “still low,” even when freshly charged.
Step 3: Clean the battery contacts (especially if you see white powder or green/blue residue)
If the old batteries leaked, the thermostat can’t get clean power.
What to do
- Remove batteries.
- If you see corrosion, clean the metal contacts gently using:
- A cotton swab with isopropyl alcohol (70% or higher), or
- A very light pass with a small soft brush
- Let it dry completely.
- Reinstall batteries.
When cleaning won’t fix it
If the metal contacts are badly pitted or the spring has lost tension, the thermostat may keep failing. At that point replacement is usually the smarter move.
Step 4: Reseat the thermostat faceplate (this is huge on Honeywell)
Many Honeywell models use pins on the back of the thermostat that must press into the wall plate.
If the faceplate isn’t snapped on perfectly:
- The screen can be weird
- The system won’t respond
- It may look “on” but not control anything
What I do
- Pull the thermostat straight off the wall plate.
- Check for bent pins or debris.
- Align it and press it firmly back on until it’s fully seated.
Step 5: Do a battery reset (forces a reboot)
If the screen is frozen, garbled, or stuck after the battery swap:
- Remove the batteries.
- Press and hold any button on the thermostat for 10–15 seconds (this discharges stored power).
- Leave batteries out for 5 minutes.
- Put batteries back in.
Some models also have a dedicated reset hole or button sequence, but the battery-reset method works on a lot of Honeywell units.
If the display works but your HVAC won’t start

This is where homeowners get tricked. The thermostat may be fine. The HVAC equipment may simply be unpowered.
Step 6: Check the thermostat settings (it sounds basic, but it matters)
On a service call, I always verify these before tools come out.
Confirm these settings
- System mode: set to Heat or Cool (not Off)
- Fan: Auto (try On briefly just to test blower control)
- Temperature: set at least:
- 3 to 5 degrees below room temp for cooling
- 3 to 5 degrees above room temp for heating
- Hold/Vacation: turn off any hold that might be overriding schedules
Step 7: Check breakers and the furnace switch
Breaker panel
Look for a breaker labeled:
- Furnace
- Air handler
- AC
- HVAC
If it’s tripped, flip it fully off, then back on.
Furnace power switch
Many furnaces have a switch that looks like a light switch on or near the unit. Make sure it didn’t get bumped off.
Step 8: Check the furnace door safety switch (very common)
If the blower door panel is not fully seated, the safety switch opens and kills power.
What you’ll see:
- Thermostat may still light up on batteries
- But the system won’t run at all
Make sure the door panel is snug and properly latched.
Step 9: Inspect thermostat wiring (easy, but be careful)
If you pulled the thermostat off the wall to change batteries, a wire can loosen.
What to look for
- Remove the thermostat from the base again.
- Check that each wire is tight in its terminal.
- Pay special attention to:
- R (power)
- C (common, if used)
- Y (cooling)
- W (heat)
- G (fan)
Even one loose wire can cause “screen works but nothing happens.”
Common terminal meanings (quick reference)
| R / Rc / Rh | 24V power | Thermostat may not control system |
| C | Common (return path) | Smart stats may reboot or act dead |
| Y | Cooling call | AC won’t start |
| W | Heat call | Heat won’t start |
| G | Fan | Fan won’t run from thermostat |
If a copper end looks damaged, trim and re-strip it (about 1/4 inch of bare copper is typical).
If the thermostat is blank and you want a “real” power test
If you have a multimeter and you’re comfortable doing basic low-voltage testing, you can test whether the HVAC transformer is sending power to the thermostat.
Normal voltage you should see
Most systems are 24VAC nominal.
In the field, it’s often in a range like:
| R to C | About 24VAC (often ~20–30VAC) |
If you get 0VAC from R to C
Then the thermostat can’t receive system power. That points you toward:
- A tripped breaker
- Furnace door switch open
- Blown low-voltage fuse on the control board (often 3A or 5A)
- Bad transformer (less common)
If you’re not used to working around HVAC control boards, this is a good place to stop and call a pro. The low-voltage side is safer than line voltage, but it’s easy to short something and create a bigger problem.
Blown fuse on the furnace control board (sneaky but common)
Many furnaces have a small automotive-style blade fuse on the control board (often 3A or 5A). A brief short can pop it.
Signs
- Thermostat may run on batteries
- HVAC system won’t respond
- No 24V between R and C
If you open the furnace panel and see a visibly blown fuse, replacing it with the same rating can restore operation. If it blows again, there’s an underlying short that needs diagnosis.
When the thermostat itself is actually bad
It happens, just not as often as people think.
Strong signs of a faulty thermostat
- Screen stays blank after:
- verified good alkaline batteries
- correct polarity
- clean terminals
- reset attempt
- Battery contacts are damaged or loose
- You see internal damage from battery leakage
- Unit behaves erratically across multiple battery sets
If the thermostat snaps onto a sub-base, be gentle with the pins. I’ve seen perfectly good thermostats “die” because the connector pins were bent during removal.
DIY cost vs. calling a technician (realistic expectations)
| Reinsert batteries correctly | 0 | 75–150 | Always DIY first |
| Clean corrosion | 0–5 | 75–150 | Easy DIY |
| Replace with correct alkaline batteries | 5–12 | 75–150 | Easy DIY |
| Reseat faceplate | 0 | 75–150 | Easy DIY |
| Tighten thermostat wires | 0 | 75–200 | DIY if comfortable |
| Reset breaker / close furnace door | 0 | 75–150 | Easy DIY |
| Replace thermostat | 25–250 | 150–400 | Often worth it if old |
| Diagnose control board/transformer | varies | 300–900 | Pro territory |
Prevent this from happening again (what I recommend to homeowners)

1) Swap batteries quickly if your model loses memory
Some thermostats can lose schedules if batteries are dead too long or removed too long. I keep the new set in my hand before pulling the old set.
2) Replace batteries before they fully die
If you see a low-battery warning, don’t wait weeks. Battery leakage damage is one of the most expensive “cheap battery” mistakes.
3) Take a photo of settings and wiring
Before removing anything:
- snap a photo of the wiring terminals
- snap a photo of your schedule settings (if you rely on them)
That single step saves a lot of frustration.
FAQ: Honeywell thermostat not working after battery change
My thermostat screen is on, but the AC won’t turn on. Is the thermostat bad?
Usually not. I look at:
thermostat mode set to Cool
temperature set low enough
Y wire secure
air handler fuse and breaker
outdoor unit breaker/disconnect (if only cooling is failing)
Do I need to reprogram my Honeywell thermostat after changing the batteries?
Sometimes. If the batteries were fully dead or removed long enough, schedules and clock settings may reset.
Can a power surge cause this right after a battery change?
Yes. Also, a brief short while handling wiring can trip a breaker or blow the low-voltage fuse, making it feel like the battery change caused the failure.
What should I do if nothing in this guide fixes it?
At that point, I’d stop and get a licensed HVAC tech involved. The next layer is checking control board power, transformer output, and tracing any low-voltage shorts.
My bottom-line advice
When a Honeywell thermostat stops working after a battery change, don’t assume the thermostat is dead. Start with polarity, contacts, and reseating the faceplate. If the display works but the system won’t run, shift your attention to HVAC power: breakers, furnace switch, door safety switch, and the low-voltage fuse.
If you want, tell me your Honeywell model number (or share a photo of the thermostat and wiring terminals) and which symptom you have (blank screen vs. screen on but no heating/cooling). I’ll help you narrow it down fast.