
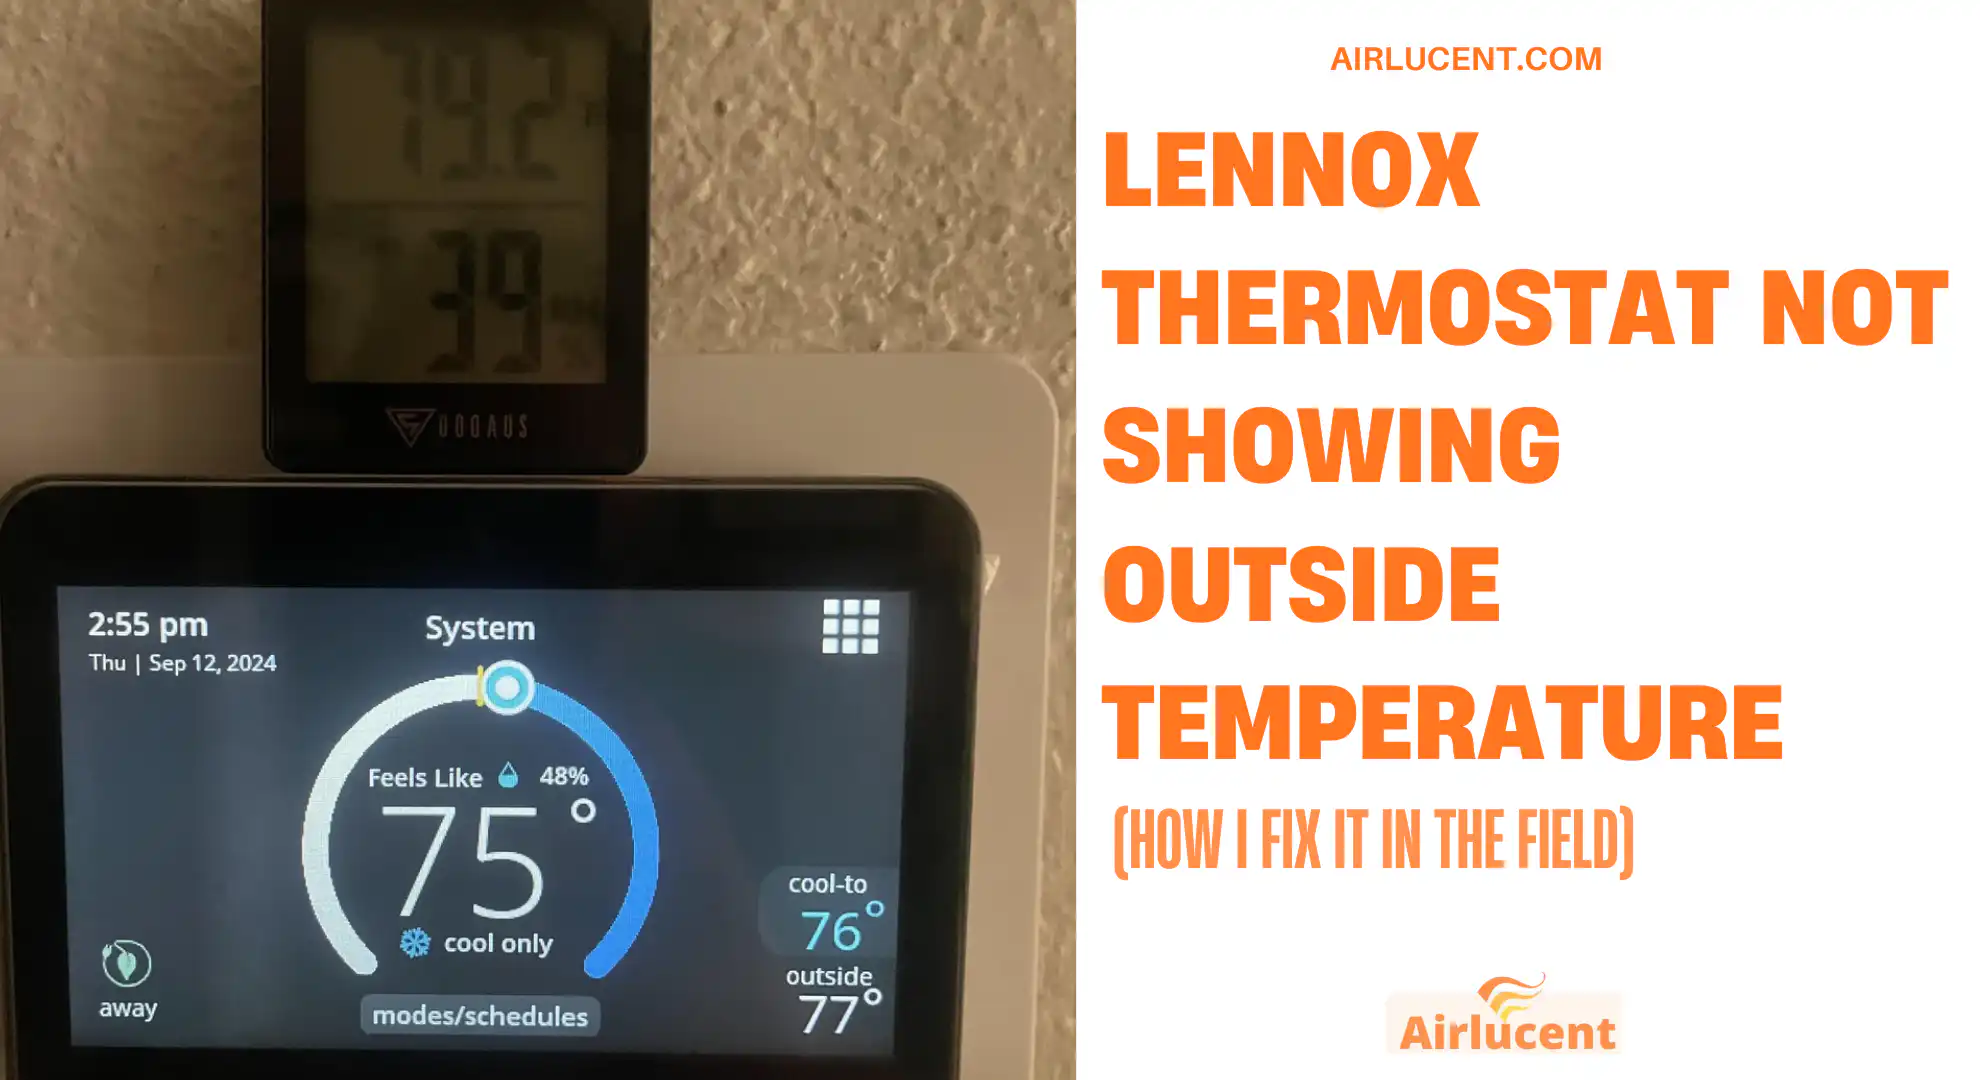
Hi, I’m Nathan. I’ve worked as an HVAC technician for over 10 years, and one of the most common “small but annoying” complaints I hear is:
“My Lennox thermostat works… but it won’t show the outside temperature.”
The good news is this is usually a setup issue, a Wi Fi weather issue, or a sensor and wiring issue, not a full system failure. In most homes I’ve serviced, I can get the outdoor temperature to show again in under 30 minutes once we identify whether your thermostat is pulling outdoor temp from the internet (AccuWeather) or from a physical outdoor sensor.
Below is the same troubleshooting process I use on service calls, written so you can do it yourself.
Quick Fix First (Most Common Setting)
On many Lennox smart thermostats, you must enable the outdoor temperature display and also choose the source.
Try this path on your Lennox thermostat
- Menu
- Settings
- Display
- Outdoor Temperature Display
- Select your source:
- Sensor (if you have a wired outdoor sensor)
- Internet (AccuWeather) (if your thermostat uses Wi Fi weather)
If outdoor temperature display is off, your thermostat can still heat and cool normally, but it simply won’t show outdoor temp on the home screen.
Before You Troubleshoot: Know Where Your Outdoor Temperature Comes From
Lennox thermostats can show outside temperature in two ways:
Option A: Internet Weather (AccuWeather)
Your thermostat pulls local weather using your ZIP code and an internet connection.
If Wi Fi drops, the thermostat may stop showing outdoor temperature (or show dashes).
Option B: Physical Outdoor Temperature Sensor
A small sensor is wired to the HVAC system (often near the outdoor unit or tied into control wiring). If that sensor is not enabled, wired wrong, or failed, you won’t get an outdoor temperature reading.
If you’re not sure which one you have, don’t worry. The steps below will identify it fast.
The Most Common Causes (Based on What I See Most Often)
From my own service history, these are the top causes I find when a Lennox thermostat won’t display outdoor temp:
| Outdoor temperature display turned off | Everything works, but no outdoor temp on screen | Very common |
| Source set wrong (Internet vs Sensor) | Outdoor temp disappears after replacing thermostat or router | Common |
| Wi Fi or internet problem (AccuWeather) | Outdoor temp blank or stuck, other online features may fail | Common |
| Sensor not enabled in installer settings | New install or thermostat swap, sensor exists but doesn’t show | Moderate |
| Loose or damaged sensor wiring | Outdoor temp shows intermittently or not at all | Moderate |
| Bad outdoor sensor | Outdoor temp reading is wildly wrong or blank | Less common |
| Thermostat issue (software or hardware) | Random glitches, freezing, or missing features | Less common |
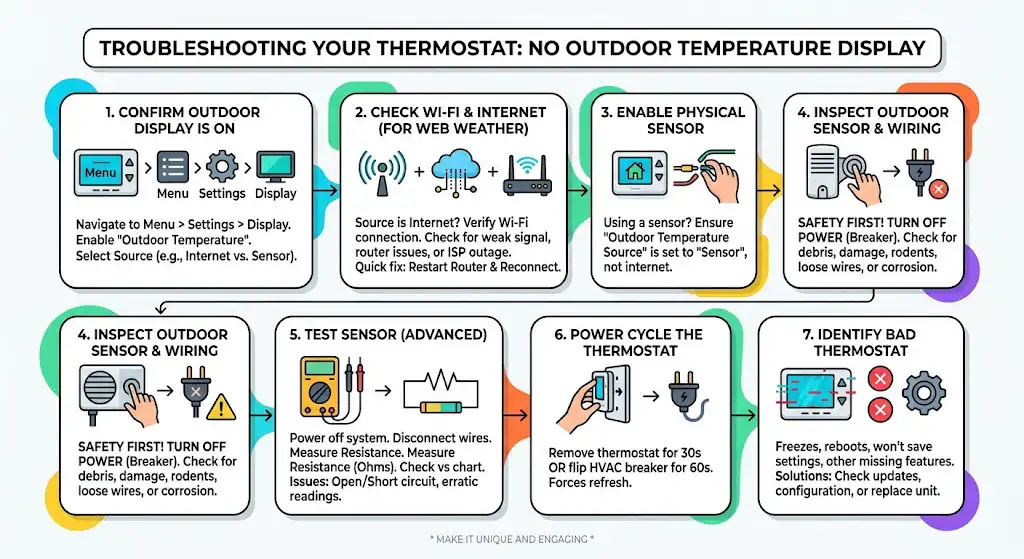
Step 1: Confirm Outdoor Temp Display Is Turned On
Even if your thermostat is capable of showing it, the display option can be disabled.
What to do
- Go to Menu
- Settings
- Display
- Find Outdoor Temperature Display
- Turn it On
- Choose Outdoor Weather (if available) to show on the home screen
Pick the correct “source”
Many Lennox models let you choose:
- Internet (AccuWeather) for web-based outdoor temp
- Sensor for a wired outdoor temp sensor
If the source is wrong, the thermostat may show nothing.
Step 2: If You Use AccuWeather, Check Wi Fi and Internet Status
If your thermostat is set to Internet (AccuWeather), it needs a stable connection.
What I check
- Menu
- Settings
- Wi Fi
- Confirm it shows connected (and not weak signal)
Common Wi Fi problems that stop outdoor temp
- Router replacement (new password, new network name)
- Mesh system changes
- Thermostat connected to Wi Fi but no actual internet (ISP outage)
- Weak signal at the thermostat wall location
Quick fix
- Restart your router
- Reconnect the thermostat to Wi Fi
- Wait a few minutes after reconnecting (it may take a bit to refresh weather data)
If the thermostat can’t reach the weather service, it often won’t display outdoor temperature at all.
Step 3: If You Have a Physical Sensor, Make Sure the Sensor Is Enabled
This is a big one after a thermostat replacement or a new install. The sensor may be wired, but not enabled in settings.
What to look for
- A setting like Outdoor Temperature Source or Outdoor Sensor
- An option to set it to Sensor
If the thermostat is still looking for internet weather while you actually have a wired sensor (or vice versa), outdoor temp may not appear.
Step 4: Inspect the Outdoor Sensor and Wiring (Safely)
If your thermostat is set to Sensor, but you still don’t see outdoor temperature, the next likely issue is wiring or the sensor itself.
Safety first
Before touching any wiring:
- Turn off power at the HVAC breaker (and shut off the air handler/furnace switch if you have one)
What I inspect outside
- Sensor body not broken or missing
- No obvious damage from weed trimmers, hail, rodents, or sun-cracked housing
- Sensor location not buried under debris, leaves, mud, or ice
What I inspect at the wiring
- Loose wire connections at terminals
- Corroded splices
- Pinched wire jacket
- Chewed wiring (rodents are more common than people think)
Step 5: Test the Sensor (If You’re Comfortable Using a Multimeter)
If the wiring looks good but the temperature still won’t show, the sensor may be out of range or failed.
Simple sensor test process
- Power off the HVAC system.
- Disconnect the sensor wires from the control terminals (so you’re not reading through the board).
- Measure resistance across the sensor leads with a multimeter (ohms).
- Compare it to the expected chart for your sensor model.
Red flags
- Meter reads open (infinite resistance): broken sensor or broken wire
- Meter reads short (near 0 ohms): shorted sensor or shorted wiring
- Resistance changes wildly when you wiggle the wire: bad splice or intermittent break
If resistance is clearly wrong, replacing the outdoor sensor is usually the fix.
Step 6: Power Cycle the Thermostat (Fixes Glitches More Often Than You’d Think)
If settings are correct and wiring seems fine, reboot the thermostat.
How I power cycle it
- Remove the thermostat from the wall plate (if your model allows)
- Wait 30 seconds
- Reattach it
Or:
- Turn off the HVAC breaker for 30 to 60 seconds
- Turn it back on
This clears minor software hangs and forces the thermostat to reload sensor or weather data.
Step 7: When It’s the Thermostat Itself (Bad Thermostat Symptoms)
A faulty thermostat is not the most common cause, but it happens.
Signs it may be thermostat-related
- Screen freezes or reboots randomly
- Settings won’t save (you enable outdoor temp, but it turns off again)
- Multiple missing features, not just outdoor temperature
- Outdoor temp never shows even after confirming good sensor readings and known good wiring
At that point, I usually recommend:
- Check for firmware/software updates (if your model supports updates)
- Confirm correct configuration in installer settings
- Consider replacement if it’s failing consistently
Troubleshooting Table (Match Your Symptom to the Fix)
| No outdoor temp at all, system runs fine | Outdoor temp display disabled | Enable Outdoor Temperature Display |
| Outdoor temp missing after changing Wi Fi/router | Thermostat not connected to internet | Reconnect Wi Fi and confirm internet |
| Outdoor temp source set to Internet but you have sensor | Wrong source selected | Change source to Sensor |
| Outdoor temp source set to Sensor but nothing shows | Sensor not enabled, wiring issue, or failed sensor | Enable sensor, inspect wiring, test sensor |
| Outdoor temp shows but is wildly wrong | Sensor out of spec, bad placement, or failing sensor | Relocate/inspect sensor, test resistance, replace if needed |
| Outdoor temp comes and goes | Loose connection or damaged cable | Tighten terminals, repair wiring |
Outdoor Sensor Placement Tips (This Matters More Than People Realize)
Even if your sensor works, placement can cause bad readings.
In the field, I try to avoid:
- Direct sunlight (will read hotter than actual air temp)
- Close to dryer vents
- Right next to condenser discharge air
- Areas that trap heat like tight corners or under dark siding
If your thermostat is showing an outdoor temperature that feels “off,” sensor placement is one of the first things I look at.
Cost and Effort: What to Expect
These are typical outcomes I see:
| Enable display and select source | Easy | Free |
| Reconnect Wi Fi / fix internet | Easy to moderate | Free |
| Secure or repair wiring | Moderate | Low to moderate |
| Replace outdoor temperature sensor | Moderate | Moderate |
| Replace thermostat | Moderate | Higher |
If you’re handy, many of these are DIY-friendly. If you’re not comfortable around wiring or control boards, it’s worth calling a technician.
FAQs
What are the signs of a bad outdoor temperature sensor?
The most common signs I see are:
No outdoor reading at all (blank or dashes)
Outdoor temperature that’s clearly wrong and doesn’t change realistically
Intermittent readings that appear and disappear
Before replacing the sensor, always check wiring and connections first.
Can extreme weather stop the outdoor temperature from displaying?
It can. Ice buildup, water intrusion, or extreme heat around the sensor can interfere with readings. Also, if the sensor is physically covered by snow/ice or buried under debris, it may read incorrectly or fail.
How often should I check sensor wiring?
I recommend checking it during seasonal maintenance, or anytime you notice:
Outdoor temperature missing
Outdoor temperature fluctuating unnaturally
Recent yard work near the outdoor unit (accidental wire damage happens)
If none of this works, should I replace the thermostat?
Not immediately. If you’ve confirmed:
Outdoor temp display is enabled
Source is correct
Wi Fi is solid (if using AccuWeather)
Sensor wiring is intact (if using a sensor)
Sensor tests good (if you tested it)