Flex duct for an HVAC system is as important as the veins are for the human body. But unlike regular home flex ducts, installing manufactured home flex ducts is way more complicated.
Mostly, flex ducts in manufactured homes are installed under the floor. Also, they must be protected from being a fire hazard or a comfy dwelling space for rodents and insects. Let alone the airflow efficiency and other HVAC concerns with a flex duct.
However, we’ve crafted a handy guide on installing a flex duct in a mobile home.
Why Does A Manufactured Home HVAC Need Flex Duct?
Usually, double-wide manufactured homes require 110-120 ft of ductwork, and single-wide ones need 60-65 ft. Among these, mostly these ducts are flex ducts.
And here are the purposes of flex ducts for both single-wide and double-wide mobile homes-
For Double Wide Mobile Homes: Crossover Ducting

In multi-section manufactured home units, there are two trunk ducts across the length of each unit. And a flex duct is used as a crossover that connects the trunks.

Mostly, the metal trunk duct comes pre-built from the factory and connects to the mobile home HVAC pretty easily. But for that crossover flex duct, you need to install or replace(if damaged) it manually.
Single Wide Mobile Homes: Regular Ducting

Single-wide mobile homes using packaged heat pump units must need a flex duct to connect the heat pump and return air grill.
It might also connect two places within the existing heating supply based on your heating/cooling necessities.
8 Steps to Install Flex Duct in A Manufactured/Mobile Home
In this part, we’ll take you through an 8-step guide to help install flex ducts in a single or double-wide mobile home.
Step 1: Get The Right Size Flex Duct for Mobile Home
The first step is to select the right size of the flex duct. By size, it means both diameter and length. We published a detailed guide on mobile home duct sizing before, but here goes the nitty-gritty of it-
The Right Diameter of Mobile Home Duct
Regarding the diameter of flex ducts, there is no minimum value. But usually, people don’t go under 8”. But about the maximum diameter, it should not be thicker than 12”.
And there are a couple of reasons why mobile home ducts are different this way–
- The first reason is, too thick of ducts will fail to provide the minimum ground clearance required for mobile homes.
- And secondly, too thick ducts will come up with too many kinks and turns, restricting the airflow to some extent.
The Right Length of Mobile Home Duct
Regarding the length of a flex duct for a mobile home, there are no hard and fast rules. The choice of length depends on-
- Whether the mobile home is Single wide, Double wide, or triple-wide.
- The distance of the heating source and another end.
- The number/amount of turns and clinks you want to have.
However, flex ducts are available at 25 feet in length. So you may buy as many units as you want and then cut them out as per your requirements. This way, the length of a flex duct becomes pretty customizable. You only need to focus on getting the diameter and R-rating right.
Here are some of our recommended flex ducts for mobile homes –
| Recommended Duct | Diameter | Length | R-rating |
| Master Flow F6IFD Flex Duct | 14” | 25’ | R6 |
| AC Infinity Flexible 12-Inch Aluminum Ducting | 12” | 25’ | R8 |
| Atco 13102406 Flexible Air Duct | 6” | 25’ | R8 |
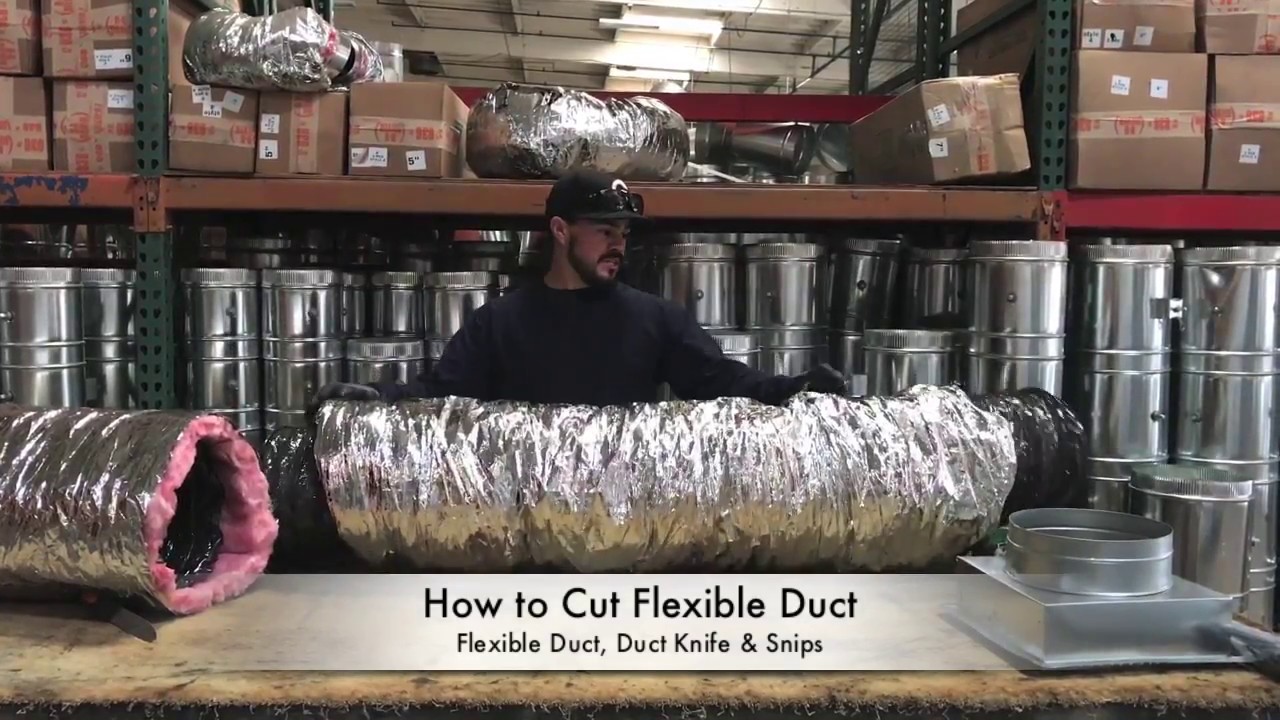
Step 2: Cut It At The Right Place in The Right Way
At this point, you get to know how long of duct you’ll need and cut it accordingly.
Tools you’ll need-
- Duct Knife: Klein Tools Duct Knife & Wire Cutter Combo
- Snip: Malco C5R 5-Blade Pipe Crimper
Having said that, you know the necessary length of flex duct you need, follow these steps to cut the duct properly-
- Measure the required length per the inner liner, not the outer foil.
- Take a duct knife and cut through the perimeter of the duct, and make sure the cut is all the way through the inner liner. Keep yourself safe while operating the duct knife.
- Take the snip to cut the last remaining wire (from the wire coil inside).
- Roll the outer foil and tuck it into the inner jacket to keep the insulation intact.
The Duct Shop has shown the process in this video-
On a side note, while measuring the length of the required flex duct for your mobile home, keep two things in mind-
- It should be long enough to avoid any kind of sharp turns and kinks. This will restrict the airflow.
- Also, it can’t be longer than it needs to. Otherwise, you’ll lose the BTU(heating/cooling capacity) of your HVAC system.
Step 3: Join The Flex Duct to The Collar/Plenum Safely
This is where we connect the duct to the inlet or outlet.
If you’re installing a flex duct for the first time, you need to create a hole on the plenum first and install a collar of matching size first. Afterward, you’ll connect the duct to the collar.
We’re going to talk about both of the processes. Have a look at the required tools first-
| For Cutting Hole In The Plenum | For Connecting Duct to Collar |
| Sheet Metal Hole Cutter: (Our Pick: Malco HC1 2-12”) Flex Duct Connector: (Our Pick: Ideal-Air 10” Duct Collar) | – Duct sealant – Zip ties – Panduit gun – Flex fix tape(UL 181 rated) – Duct Sealant(Pookie) |
Part 1: Connecting Collar To A Mobile Home Furnace Plenum
If it’s a plenum, you need to create a hole first as per the duct size. You’ll need a sheet metal home cutter for this. Our pick is the Malco HC1 2-12”.
Once you have drilled the hole, add the duct collar to the hole and mount the flanges. Make sure the connection is as sealed as possible.
See how it’s done in this video-

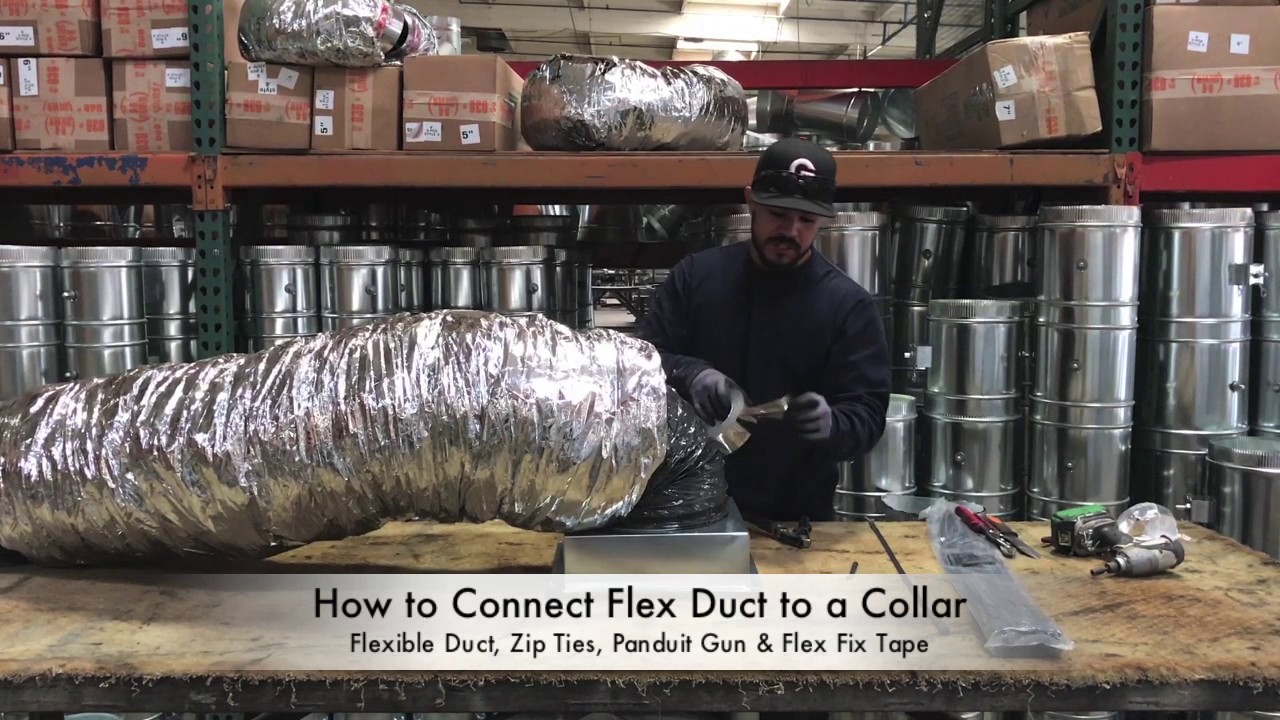
Part 2: Connecting Duct To A Collar
Once the collar is set, connect the duct to the collar and make it as airtight as possible.
For that, we’ll bring out the inner liner of the duct and tuck in the insulation and outer liner. Bring it around the neck(slightly thicker ring around the collar), and tie in a zip tie all around on the inner liner. Ensure no part of the inner liner has missed the zip tie.
Finally, use a Panduit gun and tighten up the zip tie. When it’s tight enough, trim the zip tie with the gun.
Moving on, wrap the zip tie with flex-fix tape to ensure it doesn’t get out of its place. You can seal the collar-plenum joint at this point by using some industry-standard duct sealant, also known as Pookie.
Now, unroll the outer jacket, and ensure that you’re bringing out the inner jacket with it. Cover the inner line with the insulation and outer jacket properly.
Put another zip tie around the jacket and use a Panduit gun like before to secure its position. Finally, wrap the zip tie around with flex-fix tape with as many rolls as you feel.
Finally, check for a secure connection, and we’re done.
We’ve got a video from The Duct Shop demonstrating almost everything we’ve said. Have a look-
Step 4: Channel The Duct and Support It with Straps
Now, you need to plan out the way your duct will go. Usually, it varies on whether it’s in the return air system or the supply air system.
Once you figure this out, you need to support the duct.
Here are tools you’ll need for supporting flex duct-
- Duct Straps
- Staple gun(for poly web straps) and Sheet Metal Screws(for metal straps).
- Duct Saddle Strapping System/Sling Case
First thing first, it’s the strapping. There are three options available for flex duct straps: metal strapping, plastic strapping, and poly web strapping.
For ease of use, we’d recommend poly web strapping for those of us who’re not HVAC enthusiasts. They can be used just with staplers. For a more secure and durable connection, go with metal duct hanger straps. Most professionals don’t recommend plastic ones.
Here’s a head-to-head insight of both of these strapping options-
| Factor of Comparison | Poly Web Straps | Metal Hanger Straps |
| Made of | Polypropylene | Galvanized Metal |
| Flexibility | More | Less |
| Durability | Good | Best |
| Ease of Installation | Easy | Moderate |
| Nail Holes | No(doesn’t require) | Alternating holes(bolt and nail) |
| Our Picks | DiversiTech Woven Duct Strap | With nail holes- Oatey 33923 Galvanized Hanger Strap Without nail holes- Diversitech 710-001 Strap |
To support the ductwork with straps, extra effort must be made to keep them off the ground. Because if the flex gets in touch with the ground, rodents, insects, dust, debris, and dozens of other unexpected things will find their way into the ducting and eventually your house.
Hence, HUD has very specific requirements about how you should suspend the ducts from the trailer floor.
Here are the rules-
Rule 1
Supporting straps have to be 4 feet or closer to each other. This leaves no portion of the duct unsupported, which might eventually bend and touch the ground.
Rule 2
The supporting strap’s thickness must be at least ½” wider than the spacing between two consecutive spiral wires.
This is important because the straps won’t be able to slip between the spiral metal wires. Thus, there won’t be any unexpected bends in the ductwork. And also, the chance of the duct being bent enough to touch the ground will be minimized.
Here are a few more tips to support the ductwork better-
- Use pads underneath the straps for better and safer support.
- Using metal straps, use sheet metal screws to secure it.
Tip: To have a minimum friction loss, kinks and sags, consider using the Duct Saddle Strapping system available on Amazon and GEMAIRE. You can also use a Duct Saddle Sling Case like this one. These things will add up to the overall efficiency and airflow of your ductwork.
How Much Does It Cost to Install new ductwork?
For the flex duct, the average installation and purchase cost for each foot of duct is $40-55. Based on how much you need, it can vary, depending on how many collars, straps, etc.
Single-unit ducting takes about 60 feet of flex duct, costing $2100 to $3100.
For double-unit mobile homes, you’d need 110-120 ft of flex duct, costing $4400 to $5000. The cost of securing the duct will be more than single unit ducts because the overall weight will be double.
Frequently Asked Questions
How to install new ductwork in a mobile home?
If you are installing flex ducts to your mobile home for the first time, you must create a plenum and add a collar. The rest of the procedure is as explained in the guide above.
What size flex duct for a mobile home?
Mobile home flex ducts are about 10-12” in diameter and 25 ft in length. You must join more than one flex duct together if you need longer flex ducting.